Recipe: Viennese Krautfleckerl (Pasta & Cabbage)

I’m sorry to say the first time I encountered krautfleckerl, I gave it a hard pass.

It was the first night of Chester’s and my first visit to Vienna. We were equal parts excited, tired, and hungry. Our hotel’s concierge recommended a nearby restaurant, but we neglected to tell him that we were looking for vegetarian and pescatarian options. The pickings were slim. The only fully veggie entrée on the menu consisted of pasta sautéed with cabbage and onion. (Yes, that’s our krautfleckerl!) At the time, the dish seemed to me like an afterthought, something a meat-focused chef might toss together from pantry staples to accommodate the rare vegetarian diner who stopped by. I ordered the salmon.

The next day, better rested, we visited the legendary Café Central for lunch. With its vaulted, cathedral ceilings and gleaming glass and gilt cases full of expertly made pastries, it ranked high on our must-see list. The line to get in snaked down the café’s 19th Century stone steps, but we knew it would be worth it.

Finally seated at one of the marble-topped tables, we read through the menu. There it was again: Wiener Krautfleckerl.

The accompanying description wasn’t any more enticing than the one at the last place: “Viennese square noodles with white cabbage and lettuce.” But I realized now this was a classic local dish and decided to give it a try.

It was absolutely delicious.

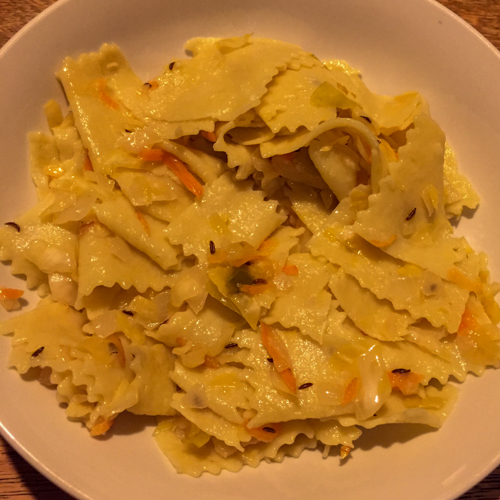
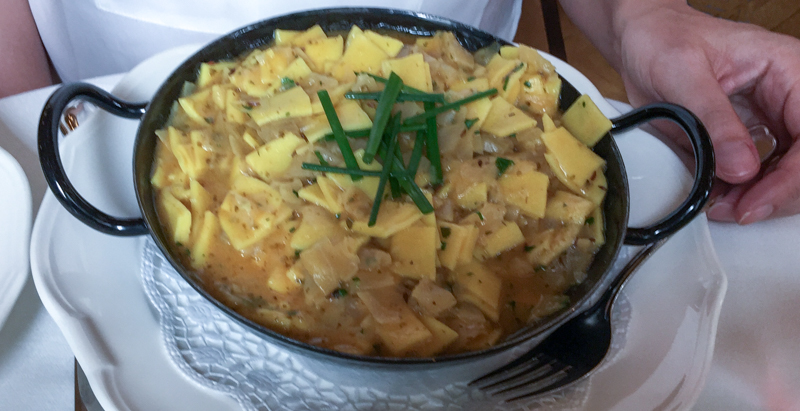
Homemade pasta squares sautéed in butter with tangy-sweet cabbage. Toasted caraway seeds tossed throughout added additional savory depth. Fresh, simple ingredients, coming together in that perfect way only fresh, simple ingredients can.

I realized too that it was something we could try recreating back at home.

Later, some Googling revealed krautfleckerl was originally a Hungarian dish enthusiastically adopted by Austrian (and German) cooks.

In our home kitchen, Chester added a Polish element by using some of our homemade sauerkraut, in place of fresh chopped cabbage. He said this touch was a nod to a Polish noodle dish, haluski.

The tangy-sour fermented taste balances out nicely with the dash of granulated sugar krautfleckerl recipes traditionally call for. Caramelized onions lend a little sweetness too.

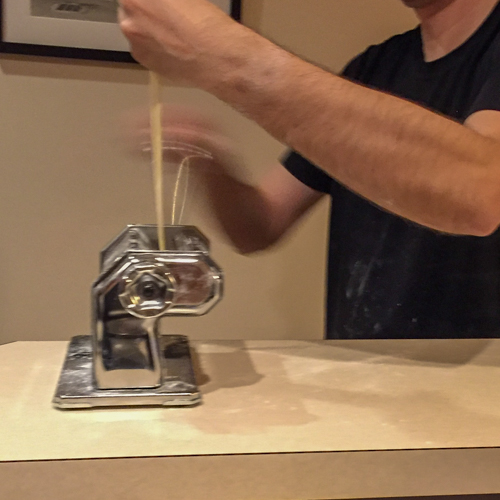
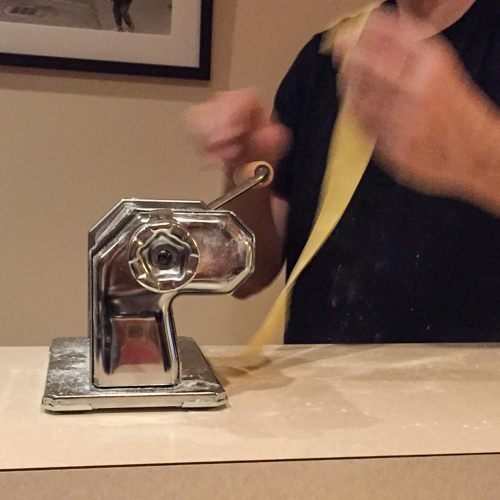
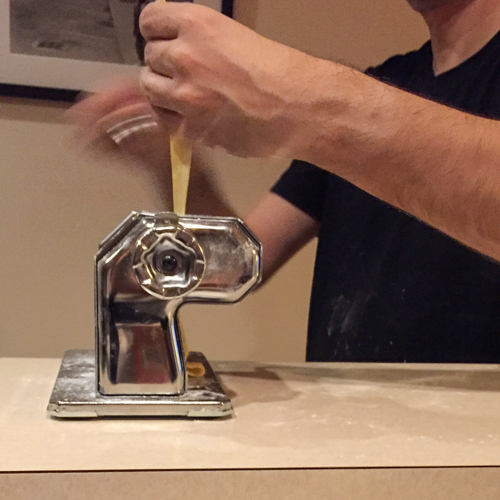
He made the noodles from scratch using Marcella Hazan’s recipe (2 eggs and 1 cup of flour–that’s all you need for the dough!). He rolled it out in our pasta machine, then cut it into squares.

This was a labor-intensive but delicious weekend version of the recipe. For a quick weeknight dinner, store-bought egg noodles (or really any other wide, flatish pasta like farfalle) would do just fine. Either way, the ingredients are very inexpensive for such a satisfying and luxurious-tasting dish.

Krautfleckerl

(serves 2)

  • 1/2 lb pasta, either fresh or dry (see note above)
  • 1 cup fresh, fermented sauerkraut (OR 1-1/2 cups fresh cabbage, chopped)
  • 1 small onion, diced
  • 1 tablespoon caraway seeds
  • 2 tbs butter
  • 1 tbs sugar
  • salt and pepper to taste

Set a pot of water for the pasta on the stove at high heat and bring to a boil. Meanwhile, in a large skillet, melt the butter at medium heat and add the onions. Cook for about 10 minutes, stirring until the onions caramelize (turn brown and translucent). Add the remaining ingredients and continue to cook about 3 minutes until the ingredients are soft and well-combined. Turn off heat and allow to sit.

Meanwhile cook and drain the pasta. Combine in the pan with the cabbage mixture and heat and stir a minute or two, to allow the flavors to combine. Serve immediately. We enjoyed our Krautfleckerl with a great Austrian wine, 2016 Moric Blau Fränkisch.

How We Compost in NYC

I started composting kitchen food scraps this year. It’s easier than I thought and I’m never turning back. Here’s how I make it work in my NYC apartment.

It all started when our super went on vacation last July. We live in a small, four-unit building, and, like many apartments in the city, ours is quirky. That means when our super took time off during two of the hottest weeks of the year, the building’s garbage room did too.

During this hiatus (which weirdly exactly coincided with Chester’s being away for a jazz workshop), tenants were instructed to leave trash in black garbage bags on the curb on any of the three weekly collection days for our street. This didn’t seem like a very appealing prospect during the dog days of summer. We were in the habit of re-using small plastic shopping bags as trash can liners and taking everything out to the garbage room daily before odors could develop. But now I pictured storing a stinking, quarter-full large black trash bag in our apartment for a few days, before leaving it half-full on the curb. There had to be a better way.

This is when necessity nudged me in the right direction.

I’d noticed that the two farmers’ markets I liked to visit both had compost drop-off stations. It was peak season for New York State sour cherries and I’d been meaning to make a batch of maraschinos–why not drop off my compost and pick up some fruit at the same time?

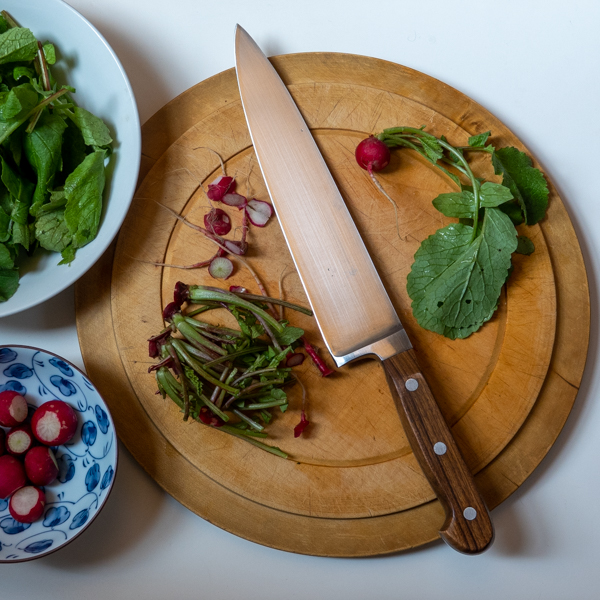
Waste trimmings from cutting radishes
Roots and stems: compostable waste trimmings from radishes

Flash forward six months and I’m a committed composter. (And Chester, having returned from his two-week workshop to the puzzling sight of a collection of peach pits and spent teabags in the freezer, is now fully on board too.) Here are a few things we learned along the way:

Why Compost?

I’d been vaguely aware that there were environmental benefits to composting. Turning food scraps into fertile garden soil instead of shipping them off to landfill could only be a good thing, right? But, as I soon learned, there’s much, much more to it.

If you send your banana peels and coffee grounds, etc. to oxygen-deprived landfill, they’ll decompose anaerobically, releasing the greenhouse gas methane, which has a significantly larger Global Warming Potential than CO2. But put that same banana peel and coffee filter into a well-aerated compost pile and they’ll actually lock in carbon from the air as they break down.

What to Compost

Guidelines will vary from program to program, so it’s best to check in with the host organization on what they do and do not accept (click here for GrowNYC’s). Animal products and food containing fats and oils are usually a no-go. Fruits, vegetables, grain products–basically anything non-greasy that came from a plant–are all good.

Where to Compost in NYC

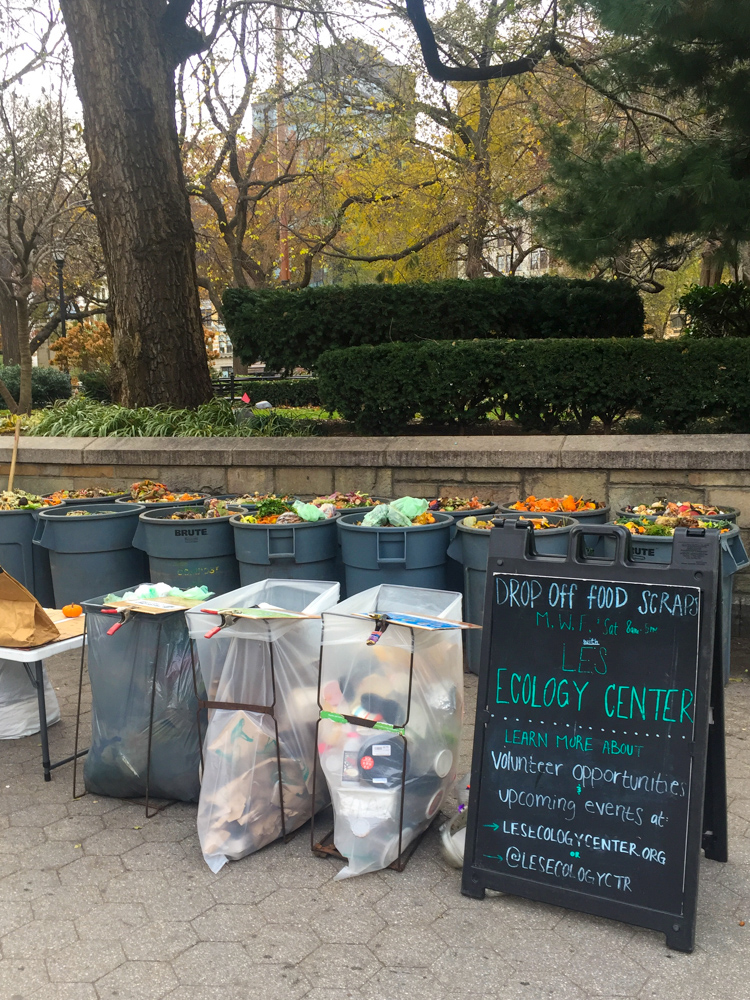
Food-scrap-drop-off-Union-Square-NYC
The food scrap drop-off at Union Square Greenmarket gets a lot of traffic

If you live in a large apartment building with many tenants interested in composting, building management can set up centralized collection.

But if you’re in a smaller building like we are, your best bet is to drop off your scraps at one of many GrowNYC locations dotted through the city. Click through to a map with a schedule here.

Or for the adventurous, you might consider indoor vermiculture. Yes, folks, that’s composting with live worms. (Erm, I don’t think we have the closet space for that.)

Collecting and Storing

That first week I started composting, I stored all my scraps in the fridge a plastic bag I knotted closed at the top. They were a bit squishy to transport and stuck to the sides of the bag when I went to dump them out. The knot was hard to untie too. One of the compost concierges at Dag Hammarskjold Greenmarket saw me in my messy struggle and tactfully advised me to try a paper bag (which is also compostable) stored in the freezer–no emptying out required. I experimented and found paper bags to be too leaky for my liking. But the deep-freeze method was a definite improvement. I’ve got my personal system down now: a Ziploc bag (which I continue to wash and reuse until it falls apart) stored in the freezer.

Unexpected Benefits

Since our household started composting, our (landfill) trash output has been drastically reduced. Instead of taking out a bag daily, we only take out a small bag once or twice a week. And because there’s nothing organic in it to go bad, there’s no rush.

Getting out to the greenmarket on a regular basis for compost drop-off has also encouraged us to pick up more fresh, local produce, so we’re eating better too.

We’ve also become motivated to reduce the amount of usable vegetable trimmings we’ve been wasting (save that freezer space!). We started going to Zero Waste Chef for recipes using parts that might have otherwise been compost. Broccoli stems, radish greens—I can’t believe we used to throw those out.

What’s fermenting: Easy Homemade (Vegan) Kimchi

You might say I caught the fermentation bug from kimchi.

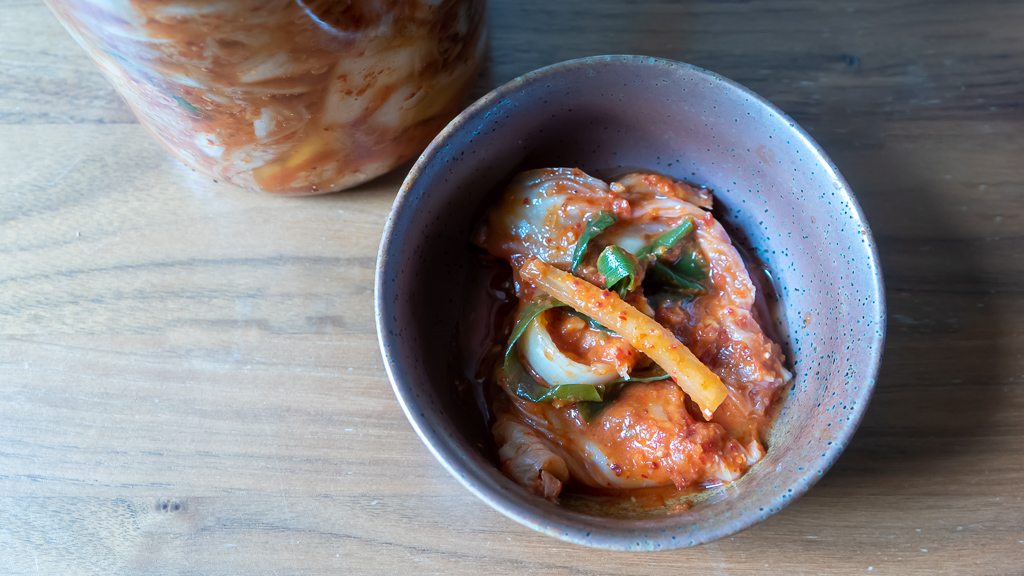
Salty, spicy, sour, with a slightly crunchy edge, this staple of Korean cuisine makes a deliciously addictive addition to everything from fried rice to tacos to sourdough pancakes to grilled cheese sandwiches.

You can buy small jars of artisanal versions for upwards of $10. I’m here to tell you it’s easy–and satisfying–to make at home.

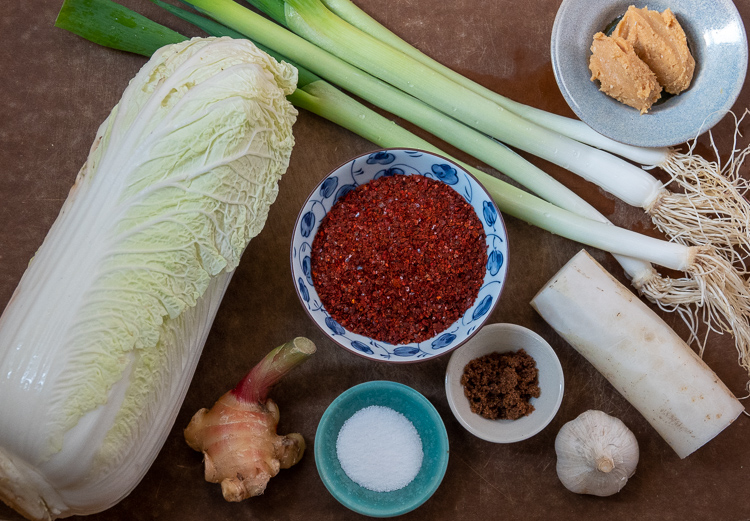
The active prep time is minimal. But with all the resting/fermenting required, it’ll be four days at the very least until you have kimchi that’s ready to eat. The ingredients are: Napa cabbage, daikon (Japanese radish), scallions, ginger, garlic, salt, sugar, plus a Korean a hot red pepper powder called gochugaru (available at specialty stores such as Kalustyan’s here in NYC and also online). Traditional non-vegan recipes include fish sauce and dried shrimp.

Vegan kimchi ingredients: Napa cabbage, ginger root, scallions, daikon, garlic, salt, sugar, korean chile powder
Vegan kimchi ingredients: Napa cabbage, ginger root, scallions, daikon, garlic, salt, sugar, gochugaru.

Kimchi relies on the same probiotic (human-friendly) bacterium for its fermentation as sauerkraut: lactobacillus acidophilus. The bacteria are naturally present on the cabbage leaves and just need a little encouragement. That encouragement comes in the form of salt and being packed tightly in a container deprived of oxygen. Both of these things kill off the competing (human-unfriendly) bacteria, giving the lactobacillus acidophilus freedom to take over. (If you’re interested in reading more about the subject, I highly recommend books by Sandor “Sandorkraut” Katz.)

I made my very first batch of vegan kimchi three years ago. I’d never tried my hand at making any fermented foods before and, to be honest, felt a little apprehensive about adding dried shrimp to something that was going to be sitting unrefrigerated on my kitchen countertop for over 24 hours. Plus shrimp and the fish sauce were just another two ingredients I’d need to buy. I decided to try a vegan recipe instead, and found a great one from J. Kenji López-Alt at Serious Eats. It’s possible to simply skip the seafood and leave it at that. But he substitutes miso paste to give the finished product extra tasty umami depth.

I’m a much more confident home fermenter now, but am hooked on this vegan version of kimchi (one day I’m going to try the shrimp). I make it regularly, and over the years have adjusted the ingredients and prep method slightly to my preferences. Traditional recipes call for whole Napa cabbage leaves–or, for larger batches, an intact, whole head of it, with the seasonings packed between the leaves (cool video here). But I found tearing the leaves into smaller pieces made them easier to handle every step of the way. They were easier to salt, easier to mix with the chili paste, and easier to pack in–and pull out of–jars.

I also learned the measurements don’t need to be exact. If you only have three scallions on hand instead of six, three scallions will do just fine. Same goes for garlic and ginger–and the hot pepper. You even have some leeway with the amount of salt. As for the countertop fermentation, 24 hours is a basic minimum, but in cooler weather I let it go for about 36. The kimchi will get more and more sour as the process goes on. Once it’s in the fridge, fermentation will continue but at a much slower rate. Feel free to adjust to your own tastes.

Vegan Kimchi

(adapted from J. Kenji López-Alt at Serious Eats)

  • 1 head of Napa cabbage (1-2 lbs)
  • 2-3 tablespoons non-idodized salt (kosher or sea salt)
  • 6 scallions, trimmed, greens separated from white parts, and cut into 2-3 inch lengths
  • fist-sized piece of daikon (Japanese radish), peeled and cut into matchsticks approx. 1/4 inch thick
  • 5 cloves garlic, peeled
  • 2-inch knob of fresh ginger, peeled and chopped coarsely
  • 1/2 cup gochugaru (Korean red pepper powder)
  • 2 tbs miso paste (I used low sodium)
  • 1 tbs sugar (I used dark brown but any kind will do)
  • water

Remove core from bottom part of Napa cabbage. Tear leaves into small pieces and place in a large bowl. Add scallion greens and daikon matchsticks. Add salt a little at a time to bowl, mixing to distribute among the leaves. Cover with a cloth and allow to wilt for 6-12 hours. Stir as needed to redistribute salt. The vegetables should release 1/4-1/2 cup water.

In a food processor, combine scallion whites, garlic, ginger, gochugaru, miso, and sugar. Whir for a few seconds to form a coarse paste.

Combine paste with the cabbage mixture in a bowl. Add 1/4 cup of water and either stir with a spoon or knead with hands until the paste is evenly distributed. Taste for desired saltiness and adjust as necessary. Pack into a large jar, pressing down with the back of a spoon to release any trapped air pockets and allow some liquid to rise to the surface until the vegetables are completely submerged. Tighten lid on jar.

Allow to sit at room temperature 24-36 hours. Open jar after 12 hours or so to release gasses. Place in fridge. Can be consumed in 48 hours and keeps for a month or two. Note: Kimchi will become softer and more sour as time goes on.

Vincent Price, Horror Actor…Cookbook Author

I’ve always loved Vincent Price’s ghoulish persona as a horror actor. He combined rarefied charm with an uncanny creepiness. But he was also clearly having fun, and he wanted us all to be in on it.

He brought that same generous sense of fun to his work as a cookbook author. In 1965, he and his British-born, costume designer wife, Mary Price, published the first of what would be several celebrity cookbooks: A Treasury of Great Recipes.

The globe-trotting couple collected house recipes from chefs at their favorite restaurants across Europe, the United States, and Mexico. There are many NYC stalwarts from years gone by (The Four Seasons (RIP), Trader Vic’s (RIP), Sardi’s, Gage and Tollner’s (RIP, but returning soon?)). Everything is adapted for the 1960s American home cook. The ingredients are simple and the recipe headnotes are encouraging (“If you can lay brick you can frost a cake”… ok, maybe not the best example). The Prices vividly describe the history and ambiance of each restaurant in before getting to the recipes. Full menus are reprinted too (can you believe sea bass at The Four Seasons used to cost $4.65?)

Vincent Price Cookbook Gage and Tollner's
The Prices visit Brooklyn’s storied restaurant, Gage and Tollner’s

I snagged a vintage copy online about 10 years ago for around $20–roughly the same as what it listed for back in 1965. It’s a lush volume: gold-embossed, padded cover (think Ottolenghi’s oh-so-huggable Plenty), with two sewn-in satin ribbon bookmarks. Very deluxe.

I was tickled to learn the book was re-issued in 2015 for its 50th anniversary. No more cushy cover, but now with a preface by the late Prices’ daughter, Victoria, plus a foreword by Wolfgang Puck. A well-deserved return from the publishing grave.

Vincent Price Cookbook Mobile Home Entertaining
The Prices entertain guests on the go in their elegant mobile home

By the way, are you getting a Halloween pumpkin this year? Chester and I got one, but haven’t carved it yet. Once we do, we’re going to put the seeds to good use. Here’s a recipe for pepitas à la curry that Emilio Gonzalez, then owner of Sobrino de Botín in Madrid, shared with with the Prices during one of their visits. The original specifies commercially hulled pumpkin seeds (aka pepitas), but we’re going to give whole seeds a try.

Pepitas à la Curry (Curried Pumpkin Seeds)

(adapted from A Treasury of Great Recipes by Mary and Vincent Price)

  • 1/4 cup curry powder
  • 1-1/4 cup warm water
  • 1 clove garlic, finely minced
  • 1 tsp salt
  • juice of 1 lime
  • 2 cups pumpkin seeds (original recipe specifies commercially hulled pumpkin seeds, aka pepitas)
  • a few tablespoons butter

Preheat oven to 225

In a saucepan mix the curry powder, 1/4 cup of the warm water, garlic, salt, and lime juice. When smoothly blended, add the remaining water and heat, stirring constantly until liquid simmers.

Add the pumpkin seeds and simmer, but do not boil, for 5 minutes. Drain (you can save the curry mixture to use again for another batch, adding more water when you do).

Spread pumpkin seeds on a cookie sheet. Dot with butter and sprinkle with salt. Toast in a very slow oven until crisp.

Happy Halloween!

Homemade Yogurt the Sous Vide Way

I’ve always been wary of unitaskers in the kitchen, those one-trick pony gadgets that get used for a few short weeks or months before falling into back-of-cupboard oblivion. But after watching a demo video on America’s Test Kitchen, it was clear a sous vide machine could offer big multitasker potential.

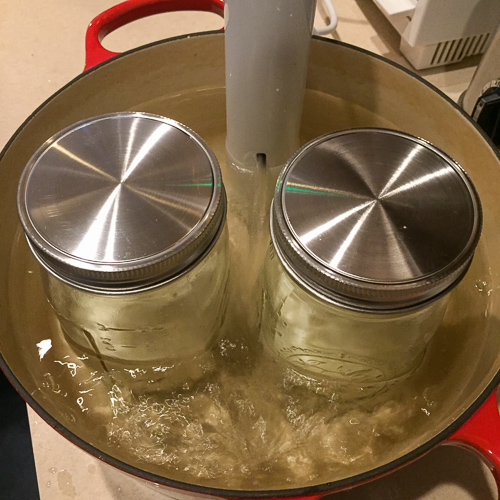
If you’re not already familiar, sous vide machines (aka immersion circulators) are devices that warm up water to a set temperature, and hold it steadily for a slow, precisely-controlled cook. The latest generation of machines are small–about the size of a stick blender. You can use them with any large container you have on hand to hold the water bath (dutch ovens are a go-to choice). Depending on the recipe, the food goes into a waterproof (plastic or silicone) bag or a jar.

Because they maintain such a reliably precise temperature, they’re easy to use. No stirring or flipping necessary. And no scorching or overcooking. Just preheat the water, set the timer, and the machine does the rest.

Right out of the box, Chester dove in and was soon making perfectly cooked shrimp for shrimp cocktails, poached eggs simmered right in their shells, and dried beans cooked so gently their skins stayed intact. The only dish that got mixed reviews was salmon: Chester loved it for its lightly cooked tenderness, but I found myself craving something crisper-edged and more well-done.

I’d been meaning to try my hand at homemade yogurt for a long time, but didn’t have a dedicated yogurt maker (unitasker), and hadn’t gotten around to investigating work-arounds like thermoses, heating pads, pre-heated ovens and the like. But the sous vide machine made my first attempt easy.

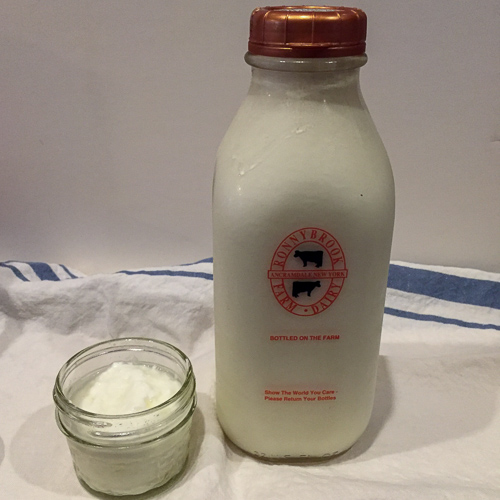
The only ingredients you need for yogurt are milk and a few tablespoons of plain yogurt with live cultures.

For the milk, I chose whole, non-homogenized, but lowfat would work well too. For the yogurt, I looked for something without additives (many brands add thickening agents), containing just whole milk and bacterial cultures.

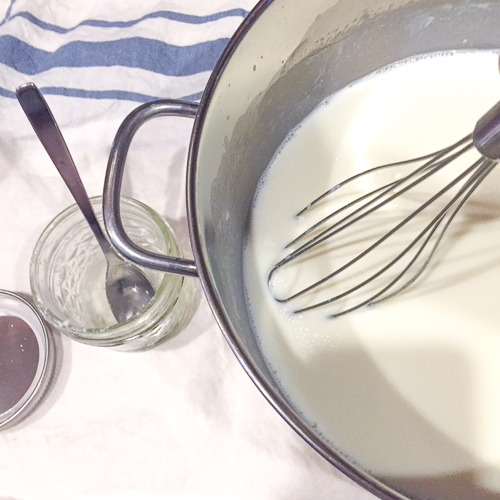
The basic steps are simple: preheat the sous vide, warm the milk, cool the milk, whisk in the yogurt, place the mixture in jars in the sous vide bath, set the timer and wait.

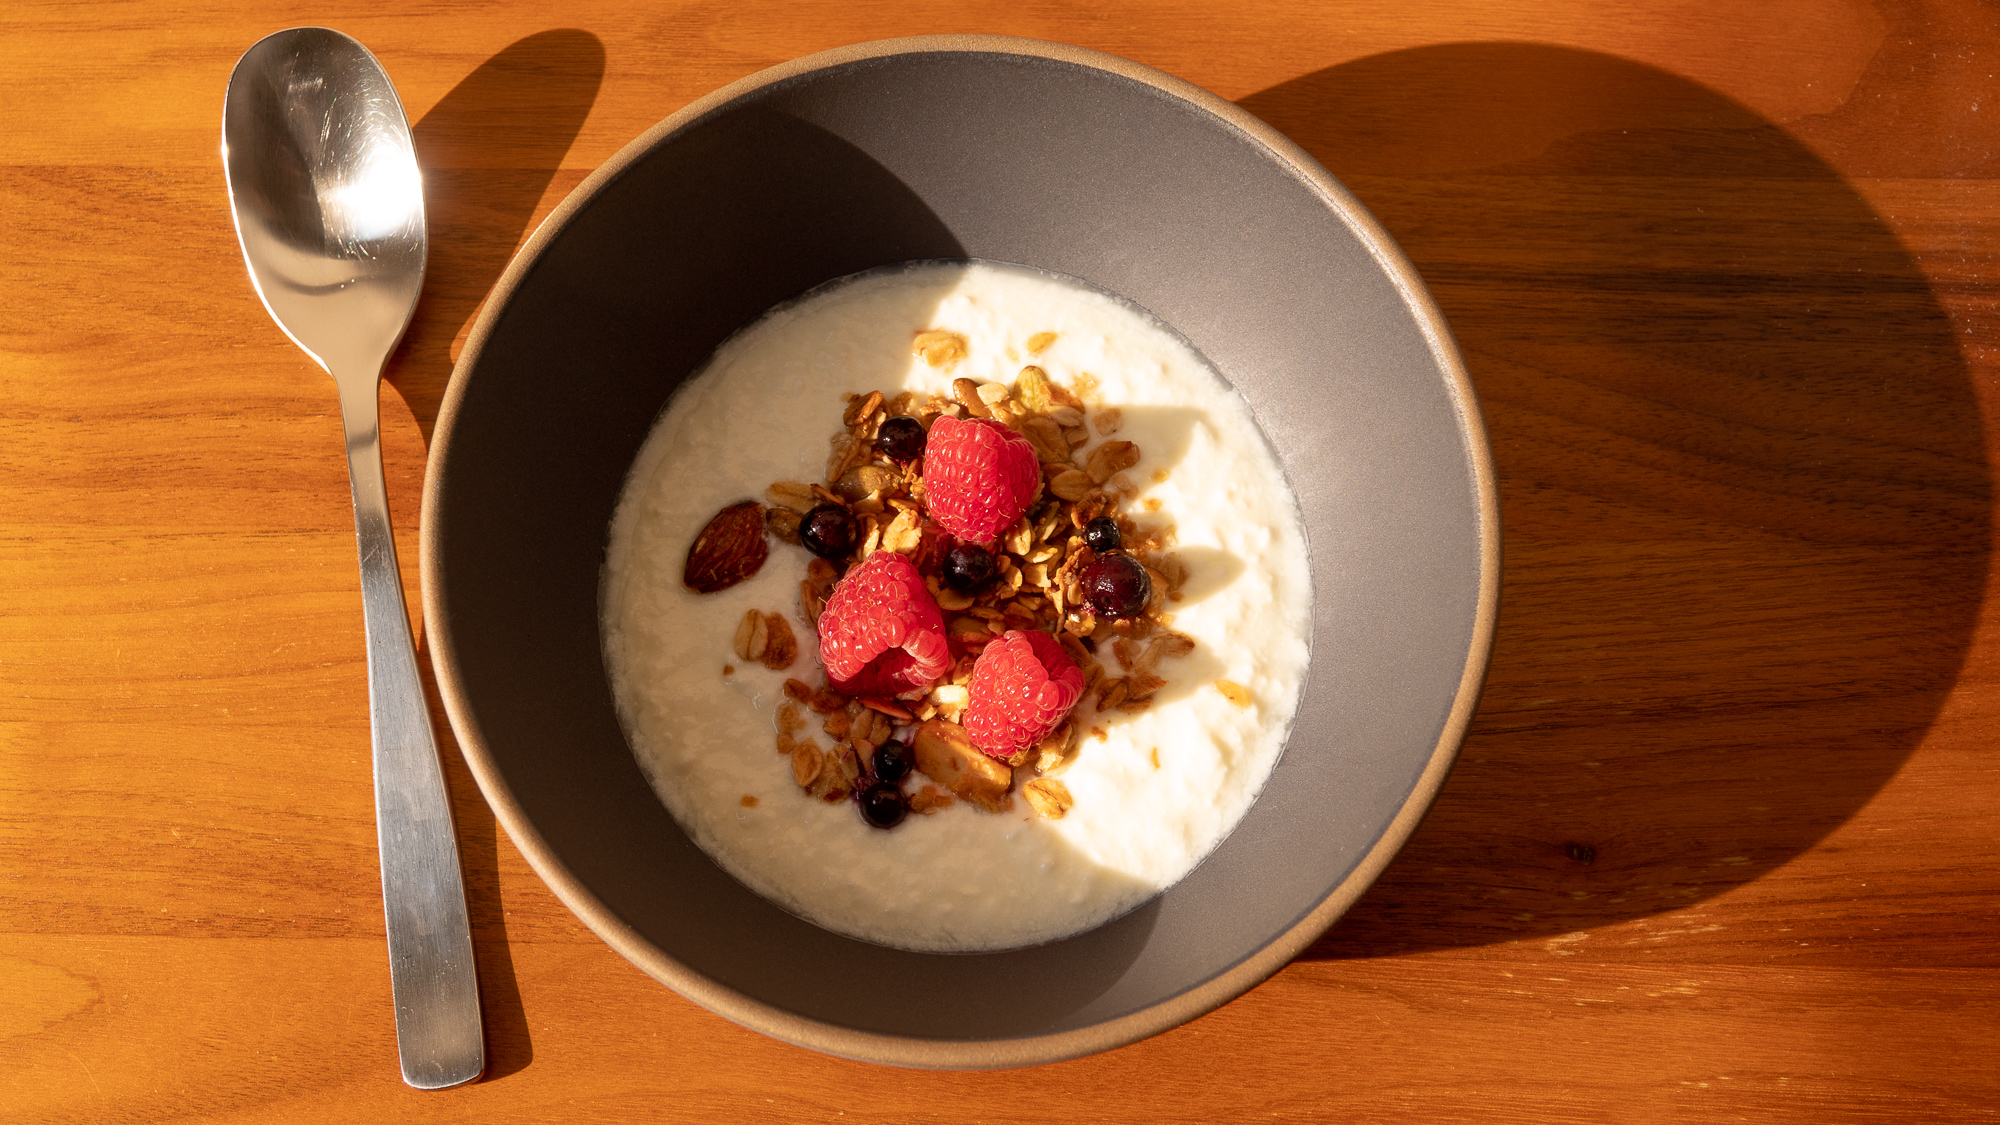
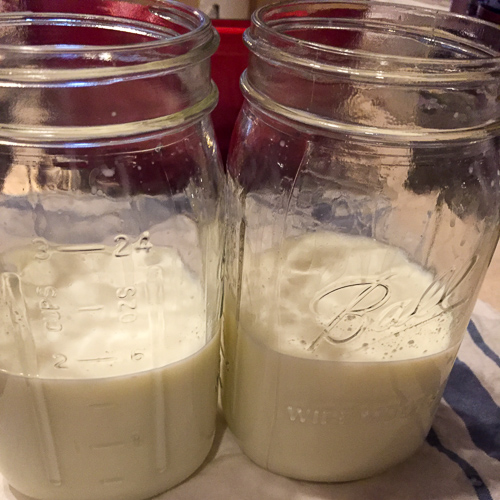
I checked on my yogurt-in-progress a couple of times as it sat in its warm bath, and was amazed at how quickly the bacterial cultures got down to business. The milky mixture began to show signs of setting within the first hour. By the time I checked again, 8 hours in, it was definitely yogurt. I tasted a little and it had a familiar creamy texture, but was still a little bland. I let it go another few hours until it took on that classic tangy flavor.

Sous Vide Yogurt

  • 1 quart milk
  • 3 tablespoons plain, full fat yogurt

Fill a large dutch oven or other large, flat-bottomed container with water until it reaches the level of the sous vide jet. Preheat to 110F.

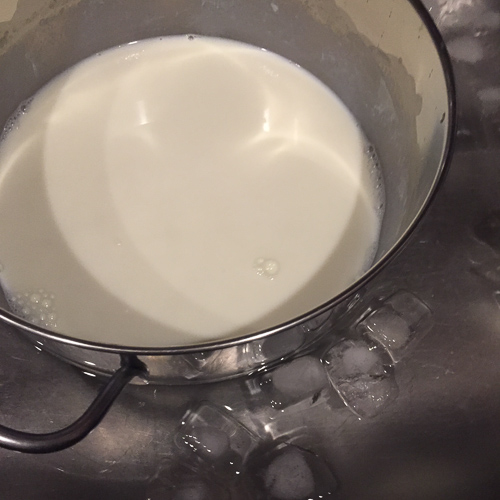
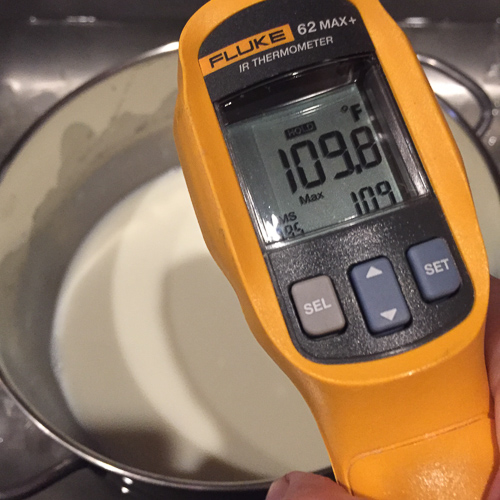
Gently heat the milk in a saucepan, stirring constantly until it reaches 180F. Turn off heat and immerse the saucepan in an ice bath until the temperature of the milk drops to 110F. Whisk in yogurt. Pour mixture into jars (I used two 32-ounce wide-mouth mason jars, filling each half way, level with the water line, then combined them into a single jar when the yogurt was ready). Screw lids on jars, securely, but not too tight. Set timer for 12 hours. Remove from water bath and stir. Chill in refrigerator.